
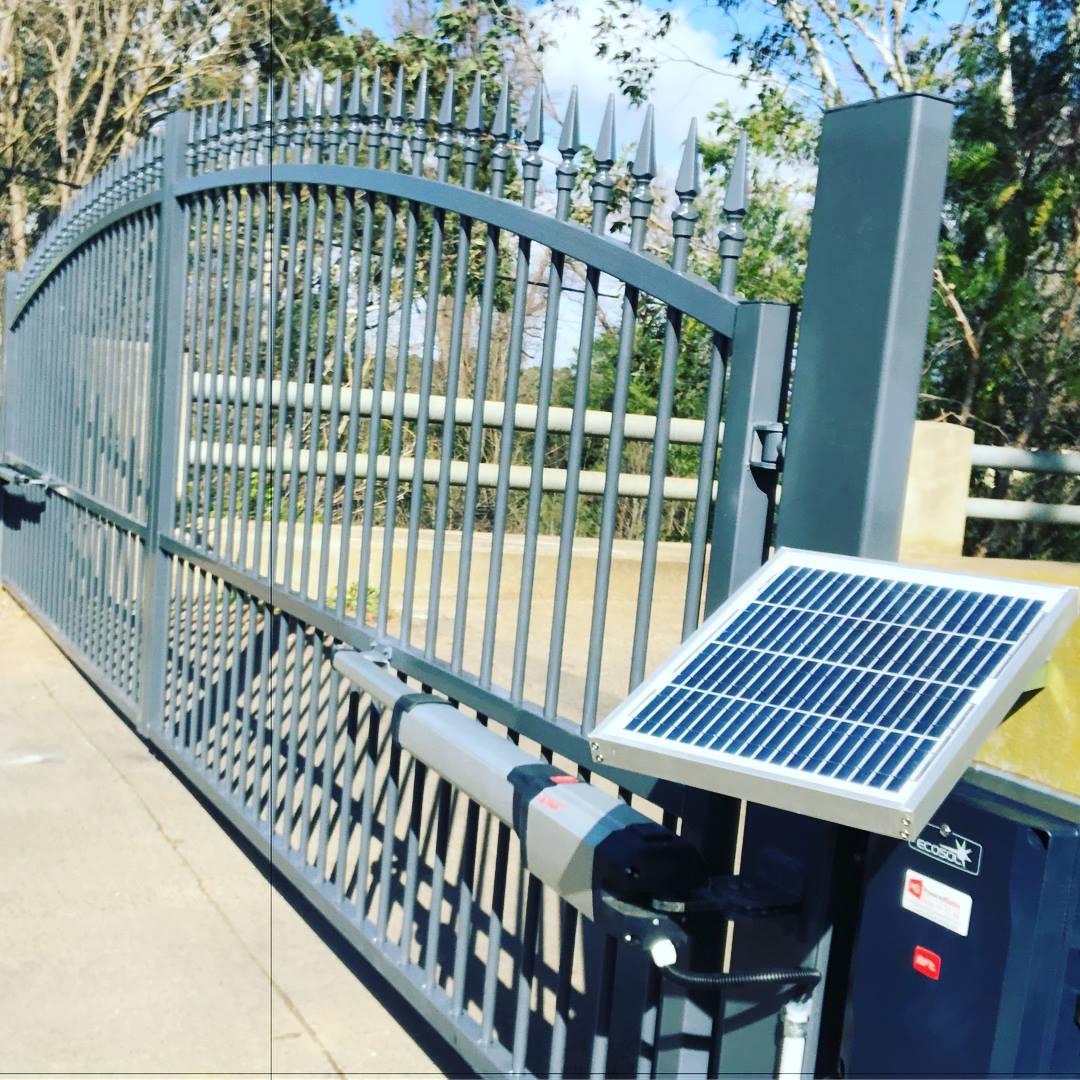
How to Program Your BFT Gate Motor Remote
The BFT Mitto remote works across all three of these motors and can be programmed three different ways: by copying from an existing remote, via the control board without a screen, or through the on-screen menu. Find your motor below and follow the method that matches your setup.
BFT Deimos Ultra Sliding Gate Motor
- 1On your existing programmed remote, press and hold the 2 top buttons simultaneously until the red LED turns on.
- 2Release both buttons.
- 3Press and hold the button that currently operates your gate until the red LED turns on, then release immediately.
- 4You now have 10 seconds to introduce the new remote. Pick up the new remote and proceed.
- 5On the new remote, press and hold the 2 top buttons simultaneously until the red LED turns on, then release.
- 6Press and hold the button on the new remote you want to use to operate the gate until the red LED turns on, then release. The new remote is now programmed.
-
1Press
S1on the control board. The green LED will turn on, indicating the receiver is ready. - 2Press the 2 top buttons on the Mitto remote simultaneously. The green LED will become solid.
- 3Press the top left button on the remote. The LED will flash rapidly for approximately 5 seconds, confirming the remote has been stored.
- 4Test your remote. It will now operate the gate.
-
1Press
OKon the control board twice. The screen will displayParan. -
2Press the
−button to scroll until the screen displaysRadio. -
3Press
OK. The screen will displayAdd Start. -
4Press
OKagain. The screen will displayHidden Button. -
5Press and hold buttons
1and2on the Mitto remote simultaneously until the red LED on the remote turns on. -
6Release the buttons. The screen will display
Desired Button. - 7Press the button on the remote you want to use to operate the gate.
-
8The screen will return to
Add Start. To add another remote, pressOKand repeat from step 4. Otherwise continue to exit. -
9Press
+and−on the control board simultaneously twice to exit the programming menu. - 10Wait 30 seconds for the motor to fully exit programming mode. Your remote will now work.
BFT Kustos Ultra Swing Gate Motor
- 1On your existing programmed remote, press and hold the 2 top buttons simultaneously until the red LED turns on.
- 2Release both buttons.
- 3Press and hold the button that operates your gate until the red LED turns on, then release immediately.
- 4You have 10 seconds to bring in the new remote and continue.
- 5On the new remote, press and hold the 2 top buttons simultaneously until the red LED turns on, then release.
- 6Press and hold the button you want to assign to this gate on the new remote until the red LED turns on, then release. Programming is complete.
-
1Press
S1on the control board. The green LED will turn on. - 2Press the 2 top buttons on the Mitto remote at the same time. The green LED will become solid, indicating the receiver is waiting for a button press.
- 3Press the top left button on the remote. The LED will flash rapidly for approximately 5 seconds to confirm the remote is stored.
- 4Test your remote. It will now open and close the swing gate.
-
1Press
OKon the control board twice. The screen will showParan. -
2Press
−to scroll until the display readsRadio. -
3Press
OK. The screen will showAdd Start. -
4Press
OKagain. The screen will showHidden Button. -
5Press and hold buttons
1and2on the Mitto remote simultaneously until the red LED on the remote illuminates. -
6Release. The screen will display
Desired Button. - 7Press the button on the remote you want assigned to this gate.
-
8The screen returns to
Add Start. PressOKand repeat from step 4 for additional remotes, or proceed to exit. -
9Press
+and−simultaneously twice on the control board to exit the menu. - 10Wait 30 seconds before testing. Your remote is now ready to use.
BFT Virgo Swing Gate Motor
- 1On your existing programmed remote, press and hold the 2 top buttons simultaneously until the red LED turns on.
- 2Release both buttons.
- 3Press and hold the button that operates your gate until the red LED turns on, then release immediately.
- 4Bring in the new remote within 10 seconds to complete the pairing sequence.
- 5On the new remote, press and hold the 2 top buttons simultaneously until the red LED turns on, then release.
- 6Press and hold the button you want to use on the new remote until the red LED turns on, then release. The remote is now paired.
-
1Press
S1on the control board. The green LED will turn on. - 2Press the 2 top buttons on the Mitto remote simultaneously. The green LED will become solid.
- 3Press the top left button on the remote. The LED will flash rapidly for approximately 5 seconds, confirming the remote is stored.
- 4Test your remote to confirm the gate responds correctly.
-
1Press
OKon the control board twice. The screen will displayParan. -
2Press the
−button to scroll until the display showsRadio. -
3Press
OK. The screen will displayAdd Start. -
4Press
OKagain. The screen will displayHidden Button. -
5Press and hold buttons
1and2on the Mitto remote simultaneously until the red LED on the remote turns on. -
6Release both buttons. The screen will display
Desired Button. - 7Press the button on the remote you want to assign to this gate.
-
8The screen returns to
Add Start. To add another remote, pressOKand repeat from step 4. -
9Press
+and−on the control board simultaneously twice to exit programming mode. - 10Wait 30 seconds before testing. Your Mitto remote will now operate the Virgo swing gate.
Frequently Asked Questions
What remote does the BFT Deimos Ultra, Kustos Ultra, and Virgo use?
All three motors use the BFT Mitto remote, available in 2-button and 4-button versions. The battery required is a 27A 12V, which is a small cylindrical battery commonly available in supermarkets and hardware stores.
Can I add a remote without opening the motor housing?
Yes. If you already have a remote paired to the motor, you can use the remote-to-remote copy method. This keeps the motor closed and takes less than a minute. The key steps are: activate copy mode on the existing remote using the 2 top buttons, then pair the new remote within the 10-second window.
How do I know if my BFT receiver has a screen or not?
Open the motor cover and look at the control board. If pressing OK twice shows text like "Paran" on a small display, it has a screen. If there are only LED indicators and buttons (like S1) with no text display, follow the no-screen method.
Why do I have to wait 30 seconds after using the screen programming method?
After you exit the BFT programming menu, the motor's receiver takes up to 30 seconds to fully return to its normal operating state. Testing the remote before this window closes may make it appear as though programming failed, when it actually succeeded. Always wait the full 30 seconds before your first test press.
What is the 350mm clearance requirement on the BFT Virgo?
The Virgo is a swing gate motor and its arm sweeps an arc as the gate opens and closes. A minimum of 350mm of clear space must exist between the hinge point and any wall, post, or obstruction. If this clearance is not met, the gate arm will strike the obstruction during operation, potentially damaging the motor or gate. Always confirm this measurement before running the first cycle.
Can I program multiple BFT remotes to the same motor?
Yes. For screen-based receivers, after each remote is stored the display returns to Add Start, so you press OK and repeat the process for each additional remote. For no-screen receivers, repeat the S1 sequence for each new remote. For the remote-copy method, complete the full sequence separately for each new remote you want to add.
Need more help?
Have your motor model number and remote model ready before reaching out. Our team can walk you through any programming issue.
Visit Powered Gates Australia


Leave a comment
All comments are moderated before being published.
This site is protected by hCaptcha and the hCaptcha Privacy Policy and Terms of Service apply.